Is Arduino running – Er døren låst?
(For dansk version klik på Dannebrog øverst i Sidebar)
A friend asked me for some help with a project in his mothers house. During the day she is going to be visited by caregivers who shall help her with household and personal care. He wants to be sure, that they remember to lock the main door. He already did install a switch. When locked the switch is closed and otherwise it is open. The rest was up to me, – some electronic gadget to report the state of the lock
Easy peasy, I thought. Just a Nano connected to the Blynk server, some wires and a LED to show Power On. The Fritzing diagram can hardly be more simple:
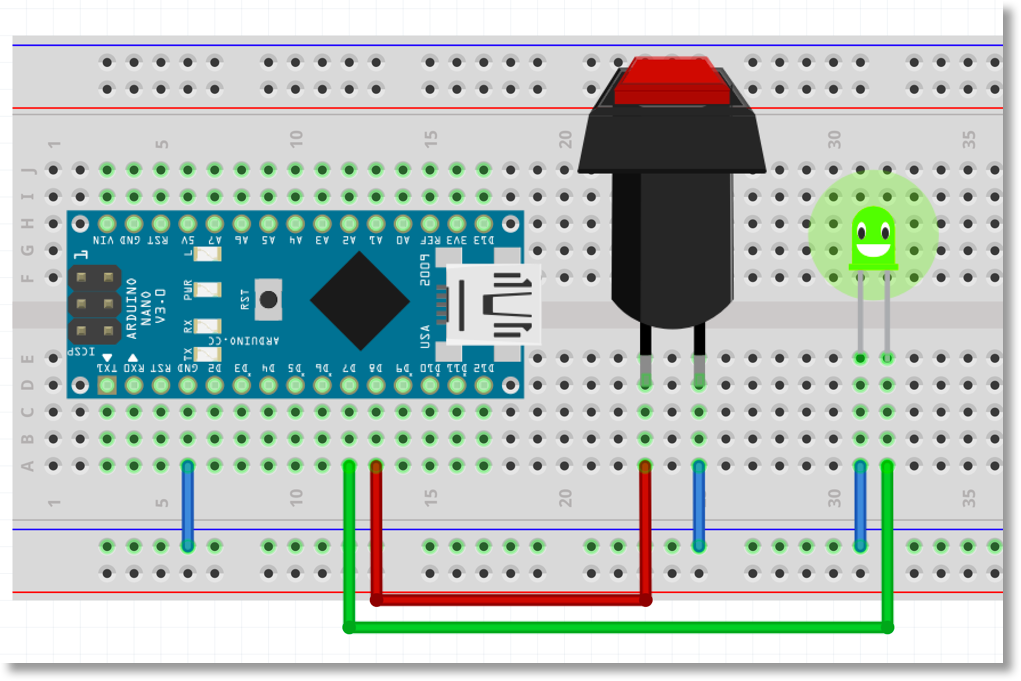
A red LED for locked, a green LED for open and a lcd-widget to live up the screen of the smartphone and a few lines of code should get this project running. With SimpleTimer and a snippet of proper code it will be possibly to limit the updates to situations, where things change. No big deal.
But starting to work with the project, I soon realized that things appeared to be a little more complicated. To make a trustworthy app there certainly are things to be taken into consideration. The app always shows the latest bit of information received but how can you know that it is not obsolete due to a breakdown somewhere along the road? You MUST know whether your Nano is up and running or not. If it is down, the information on the screen is worthless. To complicate things even more I experienced, that my screen was not updated, when my phone returned from standby mode. So the first impression did not last. Some way or the other I had to build some security into the code to make the system robust and reliable.
I got it narrowed down to these three fields of interest to be taken care of in the code to make the app reliable and aplicable:
- ‘Arduino is active’ indicator
- In sync or not? Ensure that the app is being updated when Arduino is down, the net is down, app return from shut down or standby
- Is my Nano connected to the server? Some kind of indicator at the hardware.
1. ‘Arduino is active’ indicator.
This can be achieved with a new LED-widget on virtual pin V31. To show activity the LED must be active, – i.e. blinking. It can be done with these small functions:
|
1 2 3 4 5 6 7 8 9 10 |
void setBlinkOn() { Blynk.virtualWrite(V31, 1023); } } void setBlinkOff() { Blynk.virtualWrite(V31, 0); } |
With a little help from SimpleTimer they can be timed like this in setup():
|
1 2 |
timer.setInterval(500, setBlinkOn); timer.setInterval(1000, setBlinkOff); |
Now the blue LED in my app is blinking when Arduino is running. If it does not blink, my Arduino is down and the information on my screen is not reliable.
2. In sync or not?
This can be dealt with in different ways and I did experiment with quite a few of the solutions suggested by the staff behind Blynk. I tried BLYNK_CONNECTED, syncAll() and syncVirtual(pin) but finally decided to sync every 30 seconds with a call to my own function updateApp(). To spice up things I added a notify-widget to the app. Now there will be a notification each time the state of the lock changes with a limitation of max one notification each minute. I chose 90 secs to be sure to get my message through. And again with a little help from Simpletimer:
|
1 2 |
timer.setInterval(30000, updateApp); timer.setInterval(90000, doNotify); |
3. Is my Nano connected to the server?
Inspired by the staff behind the Blynk-project, I tried different approaches to this problem. But none was satisfying. Then I dived into the header-files Blynk.h and UIPEthernet.h and found a PUBLIC method, connected(), which can do the job. It is implemented in my blink-functions like this:
|
1 2 3 4 5 6 7 8 9 10 11 12 13 14 |
void setBlinkOn() { Blynk.virtualWrite(V31, 1023); if (Blynk.connected() == true) { digitalWrite(CONNECT_PIN, HIGH); } } void setBlinkOff() { Blynk.virtualWrite(V31, 0); digitalWrite(CONNECT_PIN, LOW); } |
Originally the LED on CONNECT_PIN was an indikator for Power On. Now it is blinking to show “connection OK” instead – my Arduino is running AND is connected to the Blynk-server. If connection is lost, the LED will blink on, though. But just for 9-10 times, the Arduino Heartbeat. After that it will stop blinking.

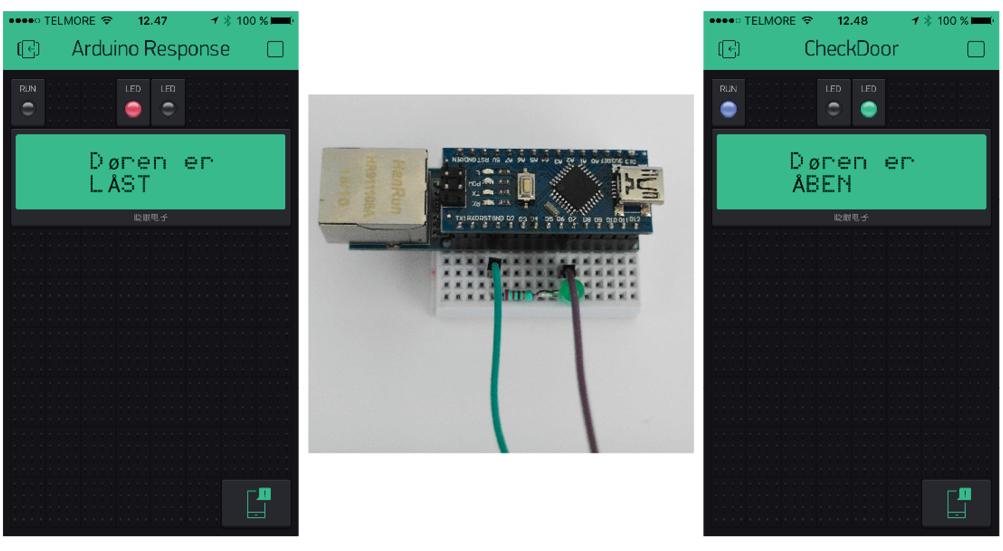
(Døren er LÅST – Door is LOCKED. Døren er ÅBEN – Door is OPEN)
Blynk app
As seen on the pictures, I have these widgets in my app:
- LED on V29 (red)
- LED on V30 (green)
- LED on V31 (blue)
- LCD on V1, – in Advanced Mode
- – and a Notify-widget (remember to permit Blynk to send notifications to your smartphone)
That’s it.
You can get the code here:

|
1 2 3 4 5 6 7 8 9 10 11 12 13 14 15 16 17 18 19 20 21 22 23 24 25 26 27 28 29 30 31 32 33 34 35 36 37 38 39 40 41 42 43 44 45 46 47 48 49 50 51 52 53 54 55 56 57 58 59 60 61 62 63 64 65 66 67 68 69 70 71 72 73 74 75 76 77 78 79 80 81 82 83 84 85 86 87 88 89 90 91 92 93 94 95 96 97 98 99 100 101 102 103 104 105 106 107 108 109 110 111 112 113 114 115 116 117 118 119 120 121 122 123 124 125 126 127 128 129 130 131 132 133 134 135 136 137 138 139 140 141 142 143 144 145 146 147 148 |
/* CheckDoor version 1.02 Created by Jørgen Sand May 2016 and published under the GNU GPL as free software ------------------------------------------------ Blynk with Nano and ENC28J60 ethernet shield Blynk - assignment of the virtual PINs V29: LED door open V30: LED door locked V31: LED App is running */ //#define PRINT_SERIAL #ifdef PRINT_SERIAL #define BLYNK_PRINT Serial #endif #include #include #include //Constants const byte DOOR_PIN = 7; const byte CONNECT_PIN = 8; char auth[] = "4f0e787ca44245a2bc6a31cb500daff3"; boolean MemState = false; boolean DoorState = false; byte NotifyCase = 2; //default - nothing to report WidgetLCD lcd(V1); void doNotify() { switch (NotifyCase) { case 0: Blynk.notify("Døren er ÅBEN"); break; case 1: Blynk.notify("Døren er LÅST"); break; default: ; } NotifyCase = 2; } boolean changeInState(boolean CurrentState) { if (CurrentState == MemState) { return false; } else { #ifdef PRINT_SERIAL Serial.print("Old MemState: "); Serial.println(MemState); #endif MemState = CurrentState; return true; } } void updateApp() { boolean LockedDoor = (digitalRead(DOOR_PIN) == LOW);//goes low when activated if (LockedDoor == true) { { Blynk.virtualWrite(V29, 0); Blynk.virtualWrite(V30, 1023); lcd.print(4, 0, "Døren er"); lcd.print(4, 1, "LÅST"); } } else { Blynk.virtualWrite(V29, 1023); Blynk.virtualWrite(V30, 0); lcd.print(4, 0, "Døren er"); lcd.print(4, 1, "ÅBEN"); } } void checkDoor() { boolean LockedDoor = (digitalRead(DOOR_PIN) == LOW);//goes low when activated if (changeInState(LockedDoor) == true) { updateApp(); if (LockedDoor == true) { { NotifyCase = 1; } } else { NotifyCase = 0; } } #ifdef PRINT_SERIAL Serial.print("Status på låst dør: "); Serial.println(LockedDoor); #endif } void setBlinkOn() { Blynk.virtualWrite(V31, 1023); if (Blynk.connected() == true) { digitalWrite(CONNECT_PIN, HIGH); } } void setBlinkOff() { Blynk.virtualWrite(V31, 0); digitalWrite(CONNECT_PIN, LOW); } SimpleTimer timer; void setup() { pinMode(DOOR_PIN, INPUT_PULLUP); pinMode(CONNECT_PIN, OUTPUT); MemState = (digitalRead(DOOR_PIN) == LOW);//goes low when activated #ifdef PRINT_SERIAL Serial.begin(19200); Serial.println("Serial er startet..."); #endif Blynk.begin(auth); while (Blynk.connect() == false) { // wait.... } digitalWrite(CONNECT_PIN, HIGH); timer.setInterval(500, setBlinkOn); timer.setInterval(1000, setBlinkOff); timer.setInterval(1000, checkDoor); timer.setInterval(30000,updateApp); timer.setInterval(90000 , doNotify); //all widgets to NULL Blynk.virtualWrite(V29, 0); Blynk.virtualWrite(V30, 0); Blynk.virtualWrite(V31, 0); lcd.clear(); // updateApp(); } void loop() { timer.run(); Blynk.run(); }test |
 Previous Article
 Next Article
 Morsedecoder – Diagram (#01)
  Morsedecoder – PCB (#02)
  C++ Focus #01
 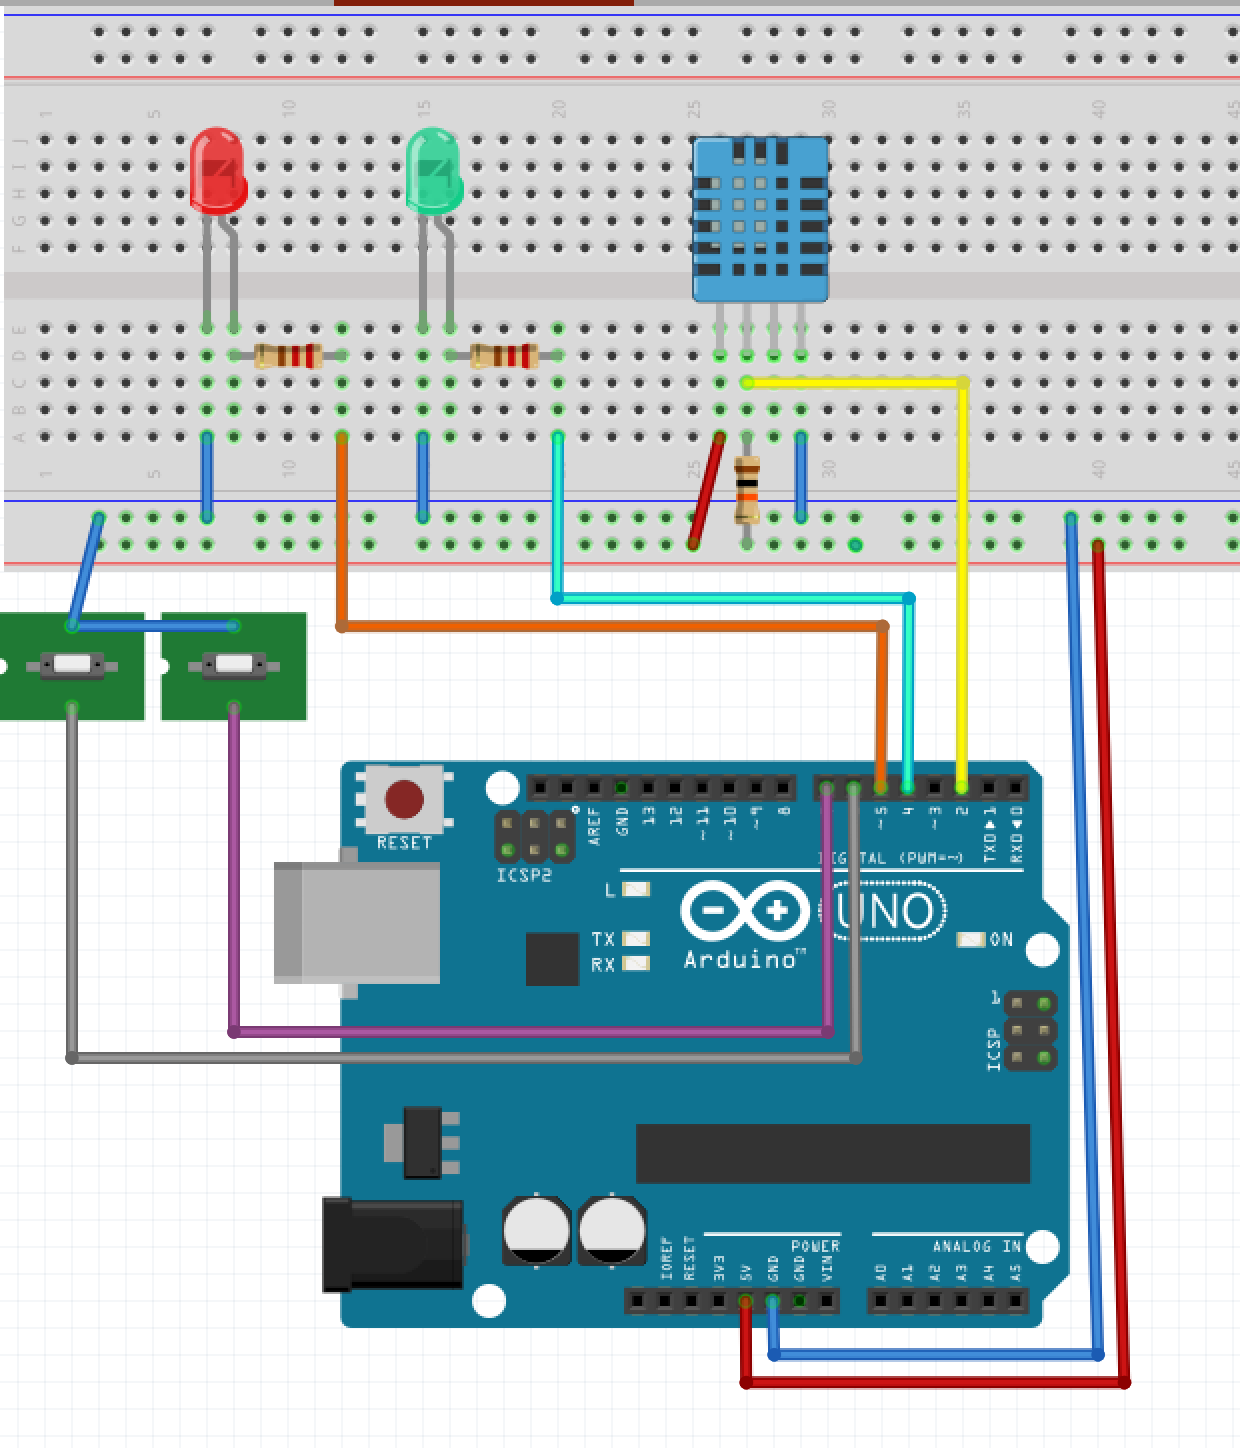 C++ Fokus på sproget #08
  DDS AD9850 #01 – The sketch
 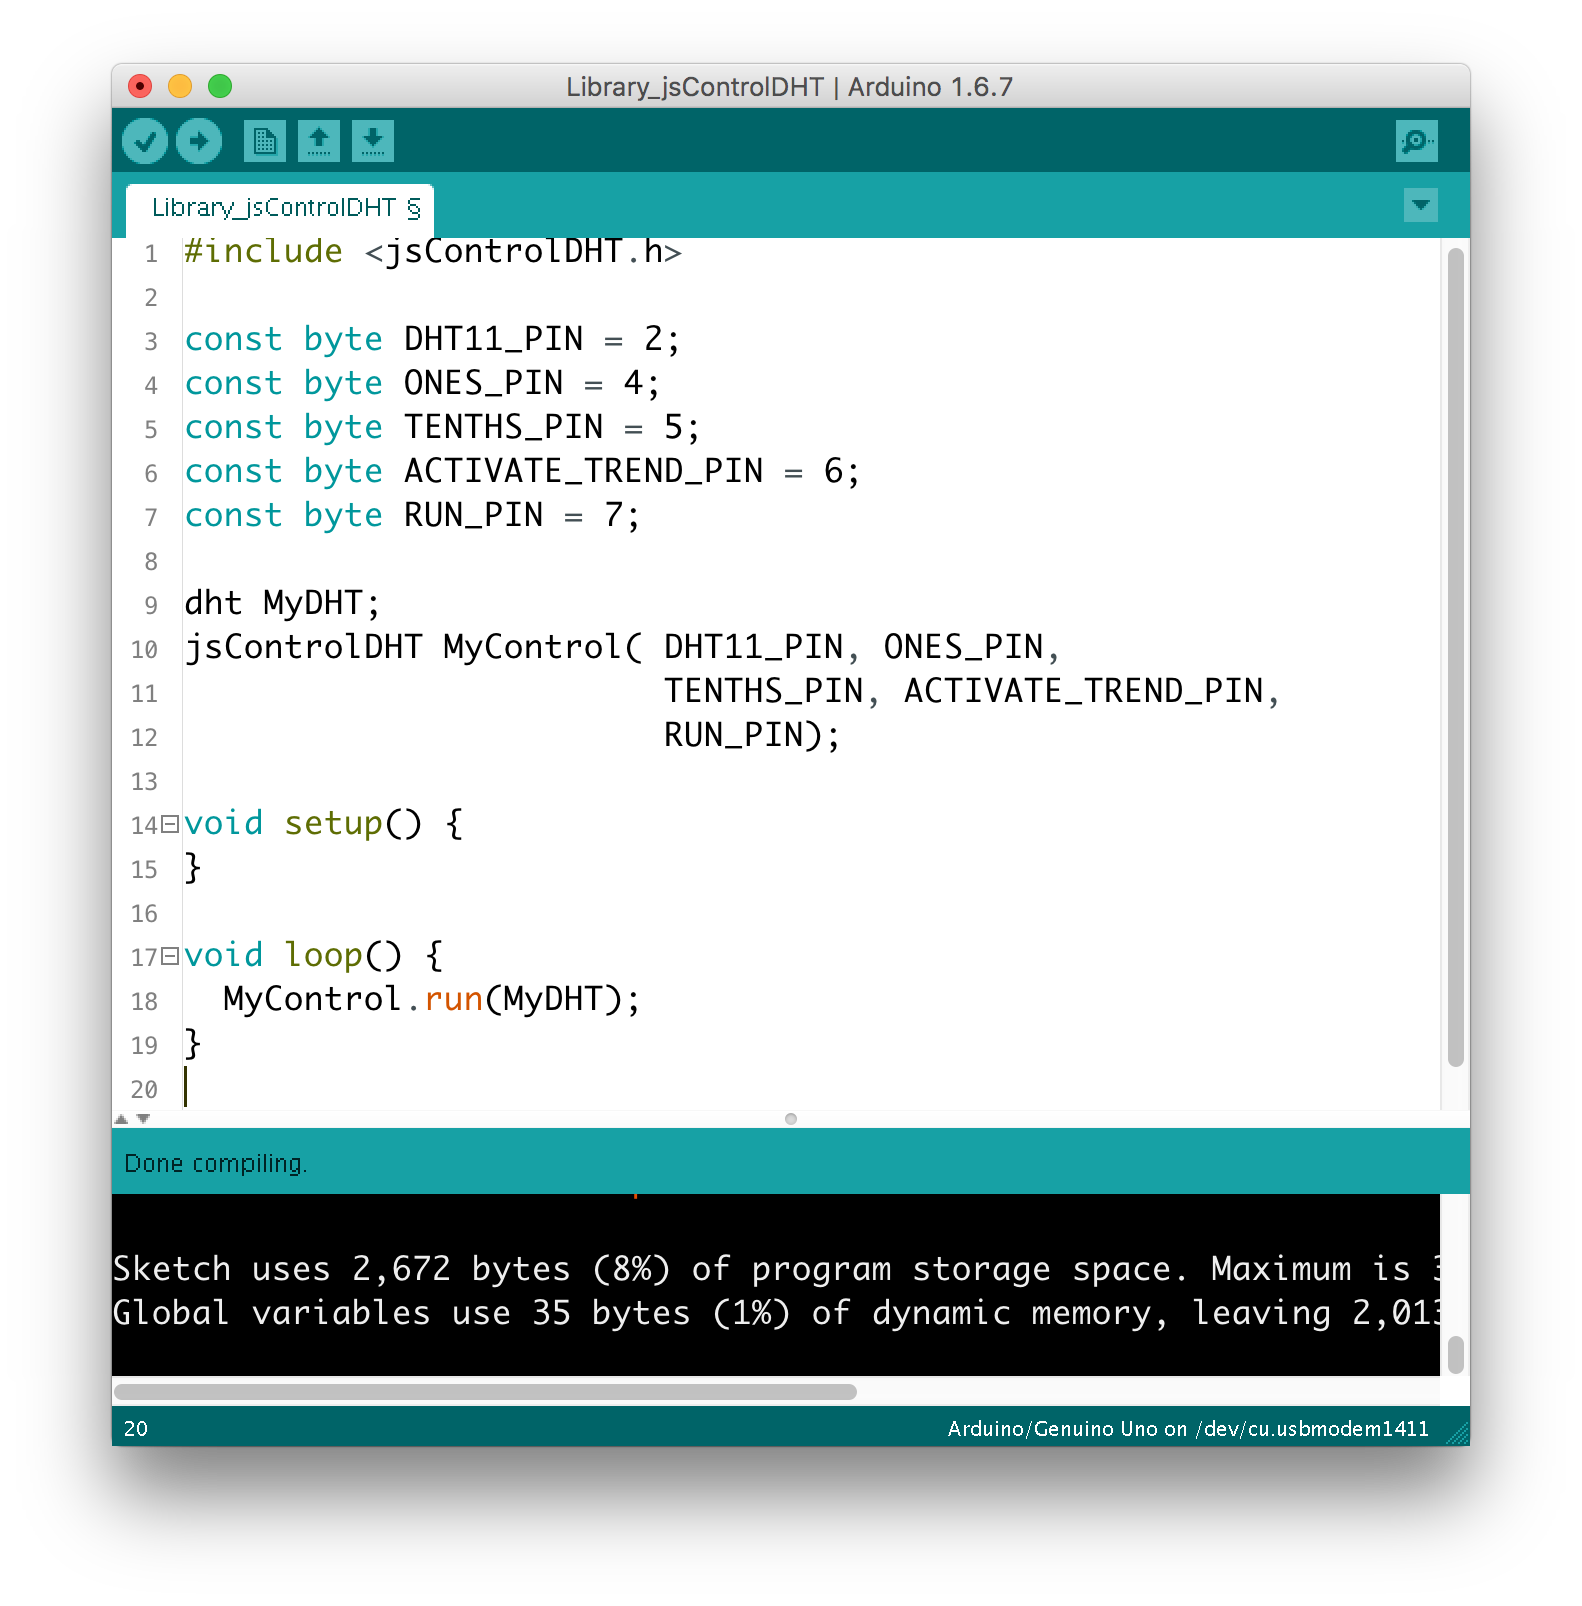 C++ Fokus på sproget #10
 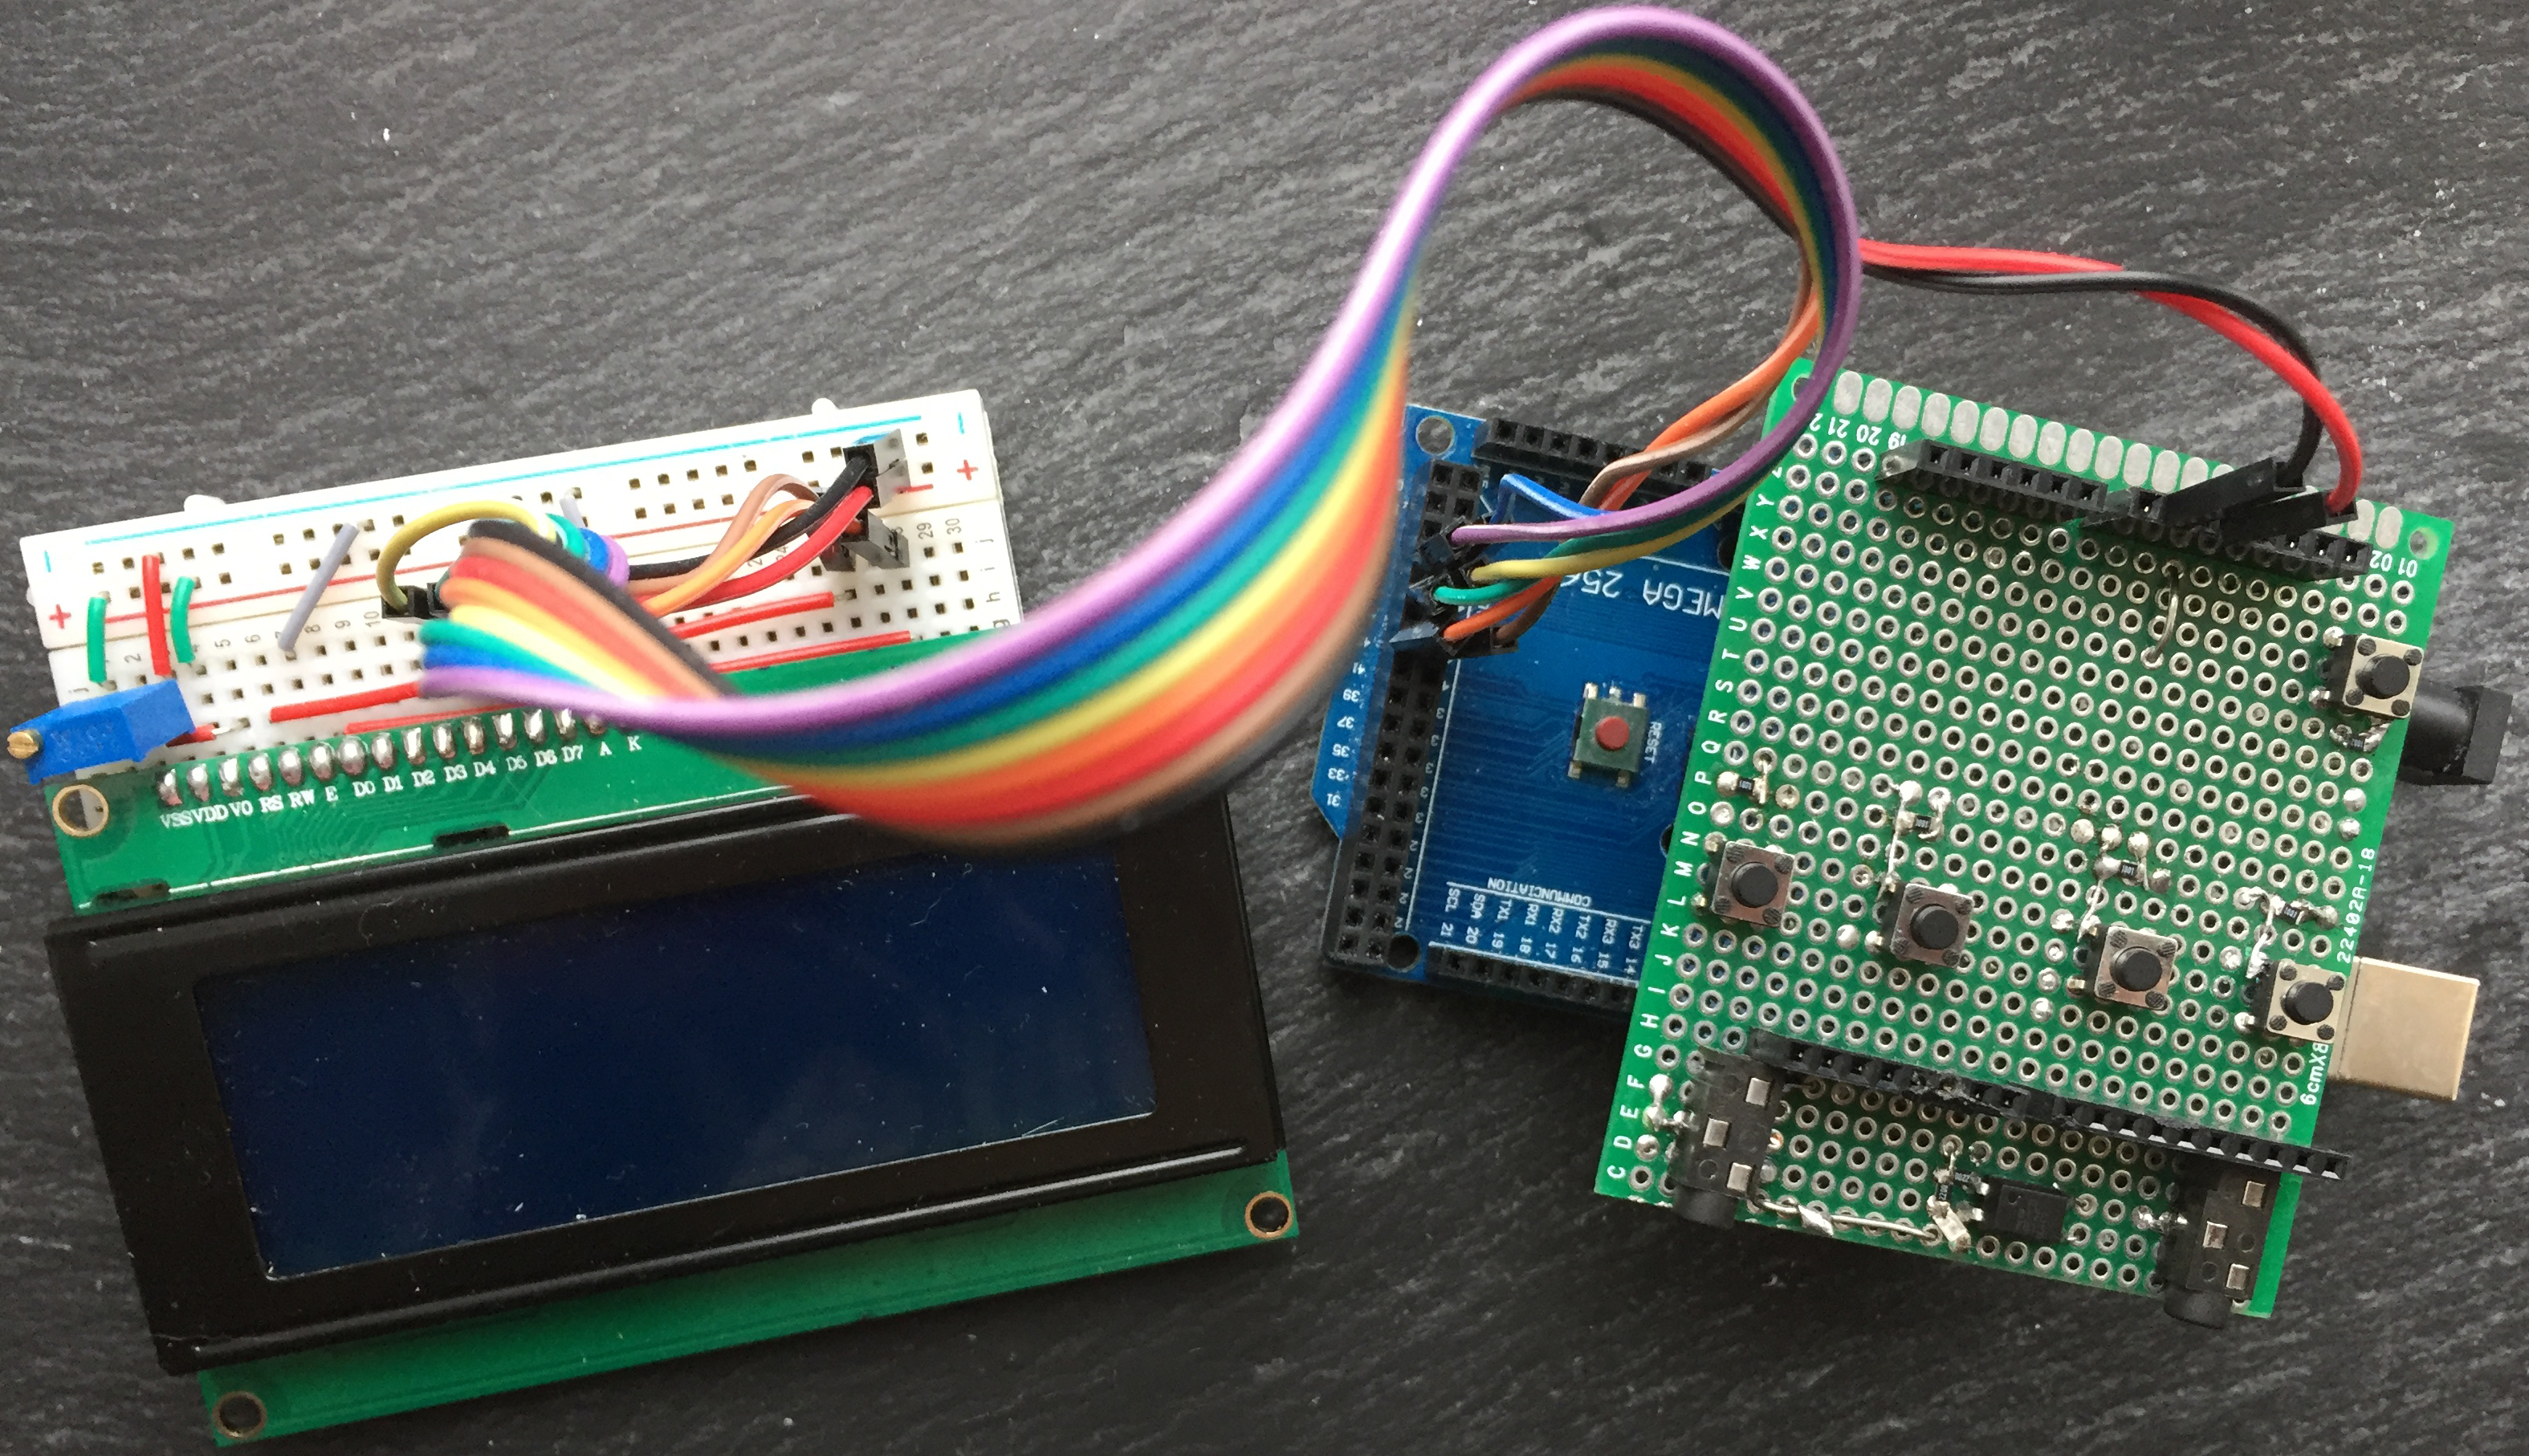 USB Morsekeyboard (#01)
 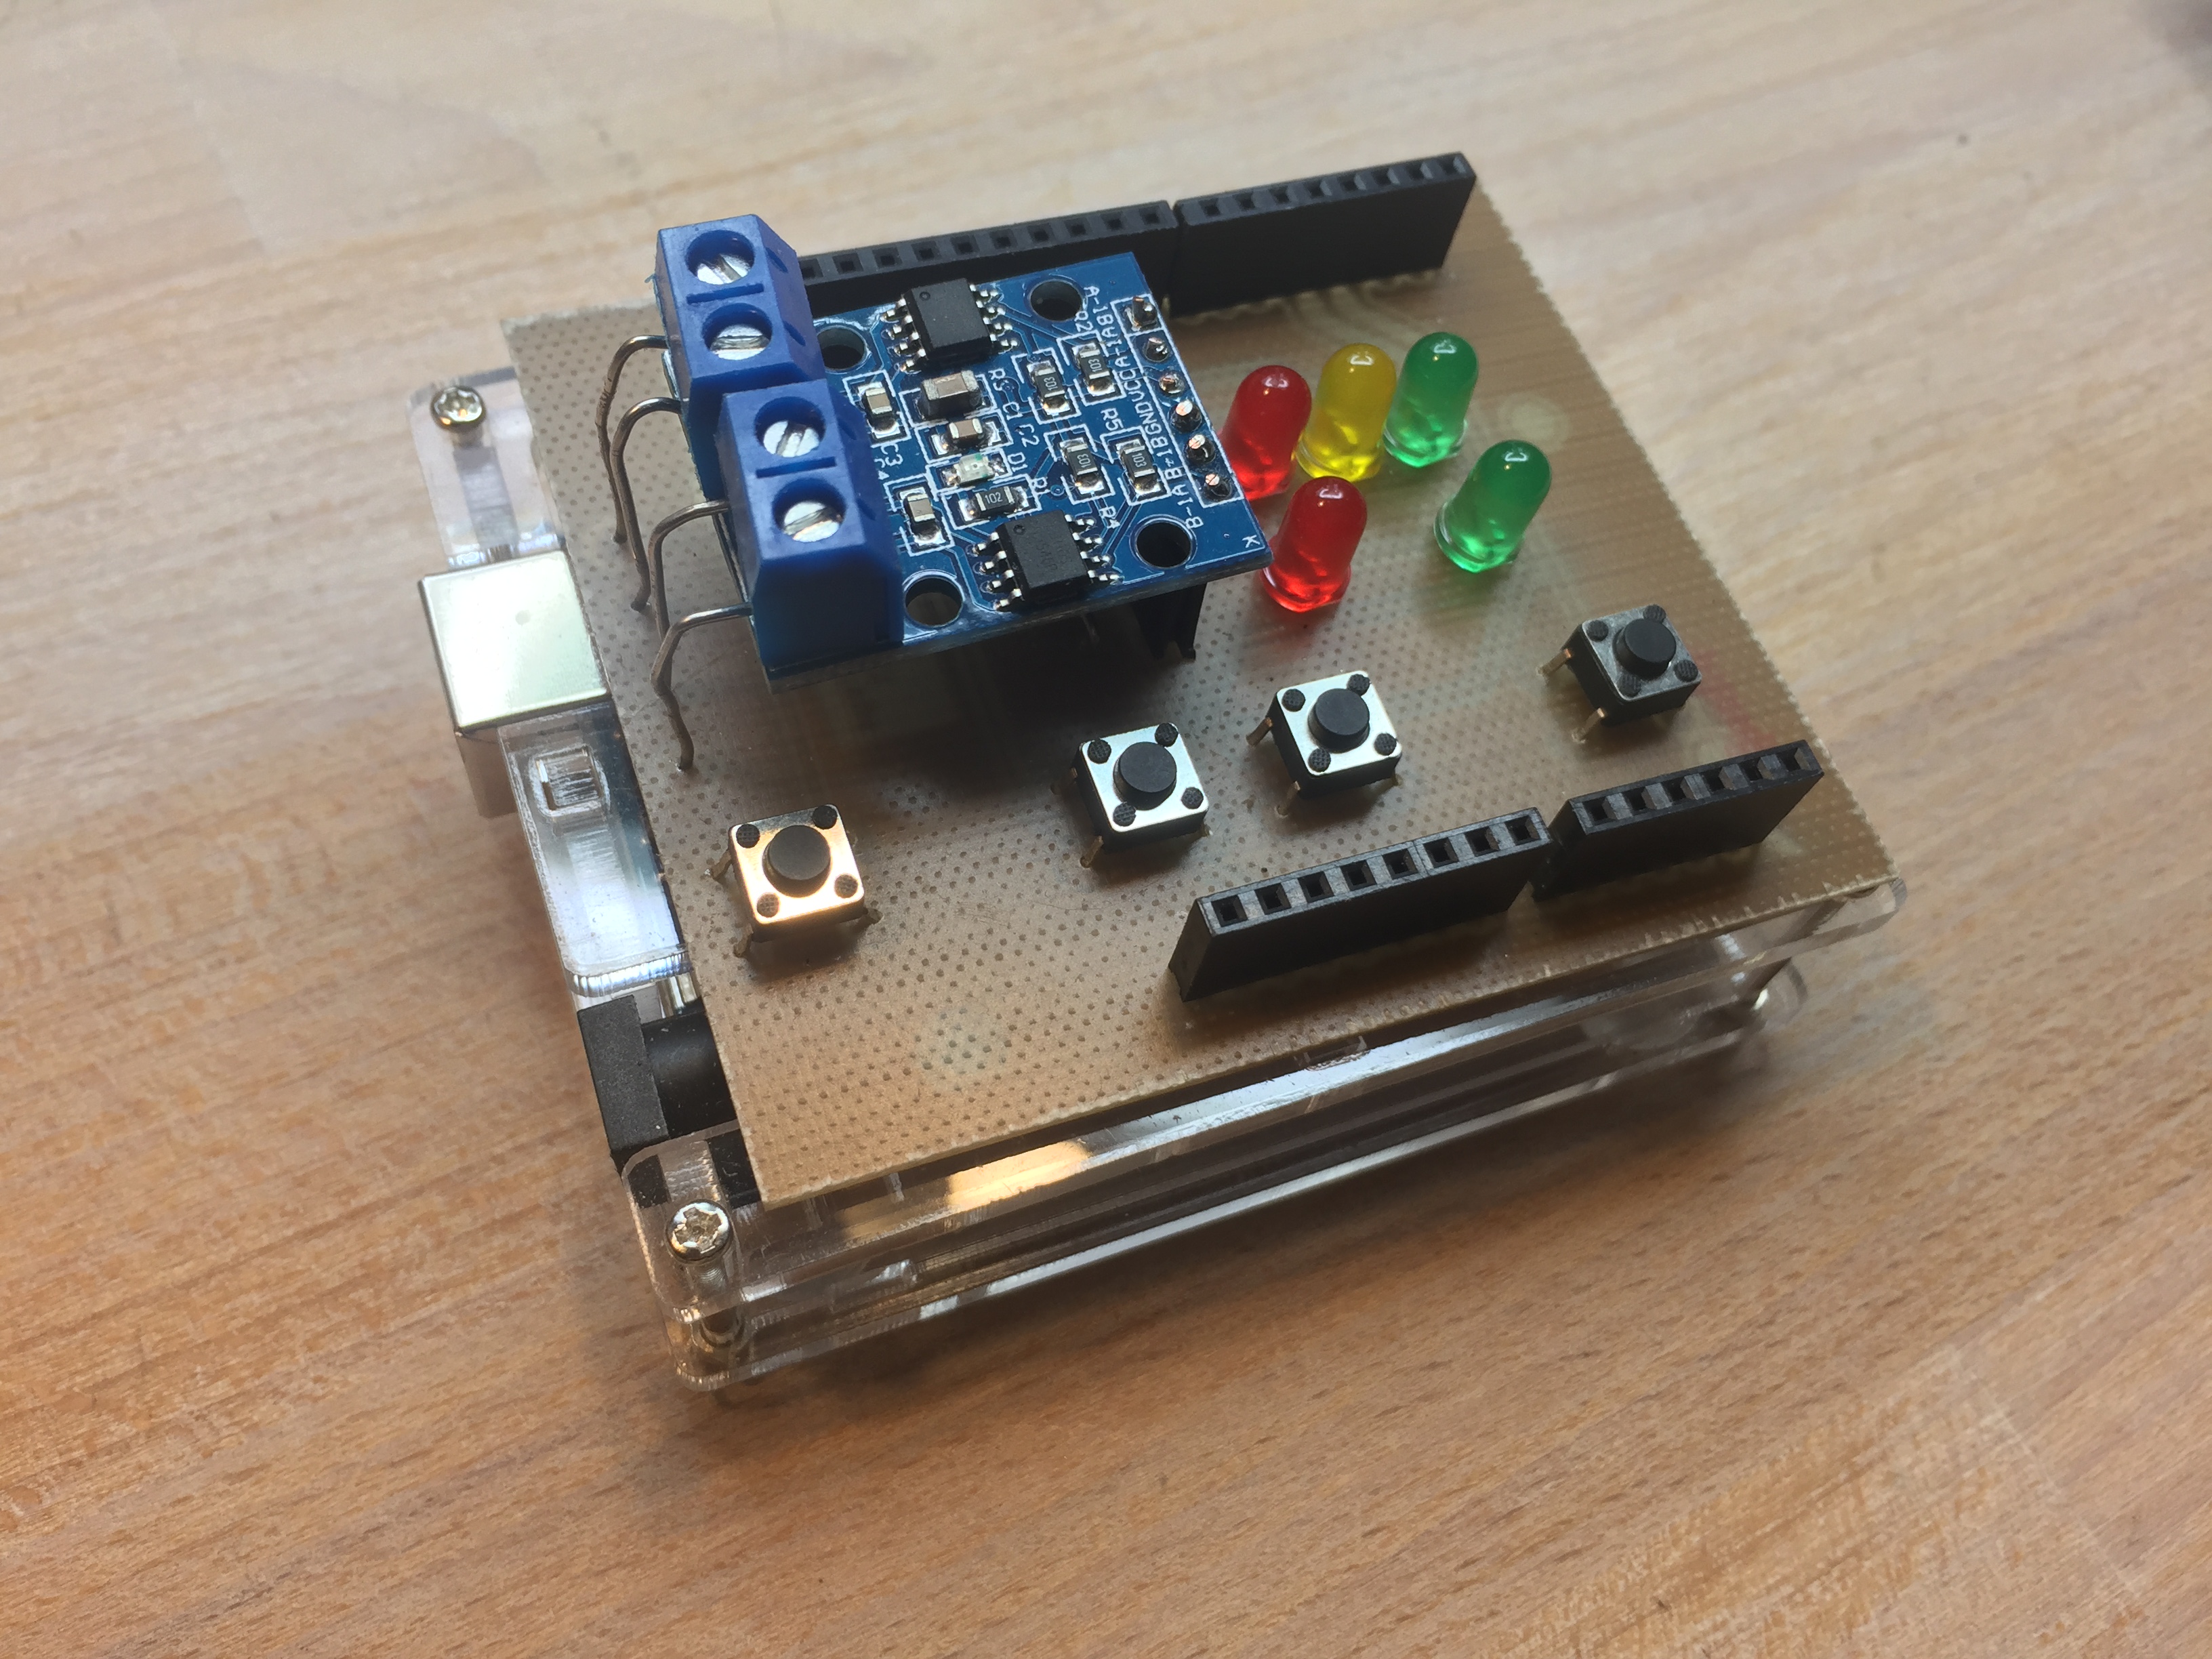 Magnetic loop #04A